Running GameMaker on a Mac/OSX and virtualized Windows
October 11, 2014
In This blog-post I will explain my setup for using GameMaker:Studio on a Mac. This is not an exact step-by-step—I will assume basic knowledge of installing software and using Google. This is how I do it and it should work fine. I am not responsible for eventual data-loss or other trouble you may encounter.
GameMaker is a great tool for quickly making games and prototypes.
If you’re working on a Mac, you can only get the discontinued GameMaker 8. GameMaker:Studio is Windows-only. If you’d like to use it on OSX, here’s what you need:
You can get all of this for free, at least for trying out whether it works. Please note that this post is not about using Bootcamp to run Windows natively.
The setup
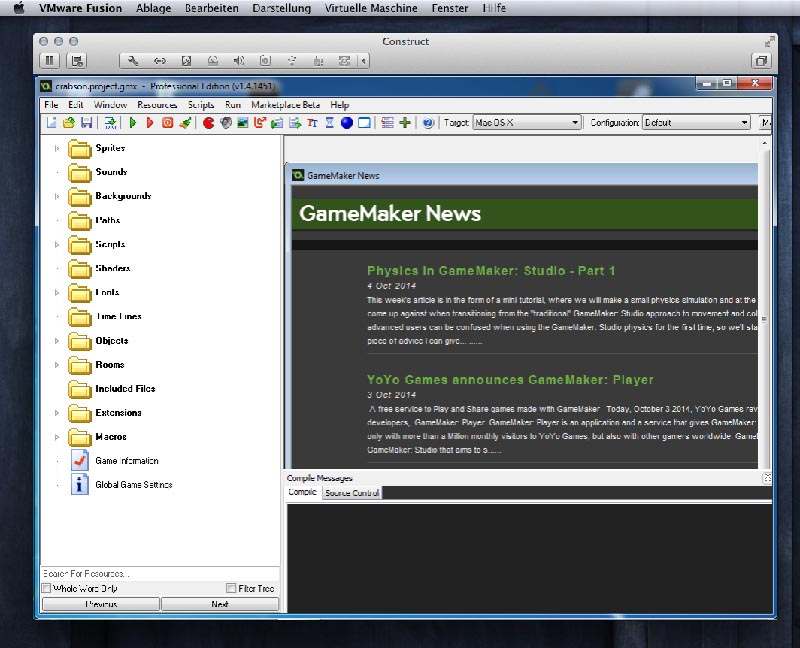
Install your preferred virtualization-tool on OSX. I’m using VMWare-Fusion.
Get the appropriate Windows-Image from modern.ie. I’m using Windows 7, but everything above XP should work fine. You can use the modern.ie-images for testing purposes, but note that if you want to use it permanently, you’ll need to get a full Windows-License.
Set up a virtual Windows-Box and install GameMaker (download it directly in Windows).
(Not required) Make a folder in your Dropbox for the virtual Windows; something like “Dropbox/VM/GameMaker”. Download Dropbox and set it up on Windows. Deactivate synchronization for all Folders except the new one. That’s where you’ll put all your files into.
Create a snapshot of your Windows in the virtualization-software. If you don’t have a Windows-License, you’ll have to restore this snapshot every month or so. The great thing about using Dropbox is that you automatically keep the latest files. You can even install GameMaker into the Dropbox if you’re adventurous.
Start using GameMaker:Studio. Save your files into the shared Dropbox-Folder. When you create assets on OSX, you can also put them into this folder from the “OSX-Side” and have them available to Windows in seconds.
Performance
I am blessed to own a fairly modern MacBook. The performance should be at least OK for Macs not older than 2 or 3 years.
Running GM–Games on OSX
If your GameMaker-License includes export to OSX, here’s a nice way to directly test your game on OSX: